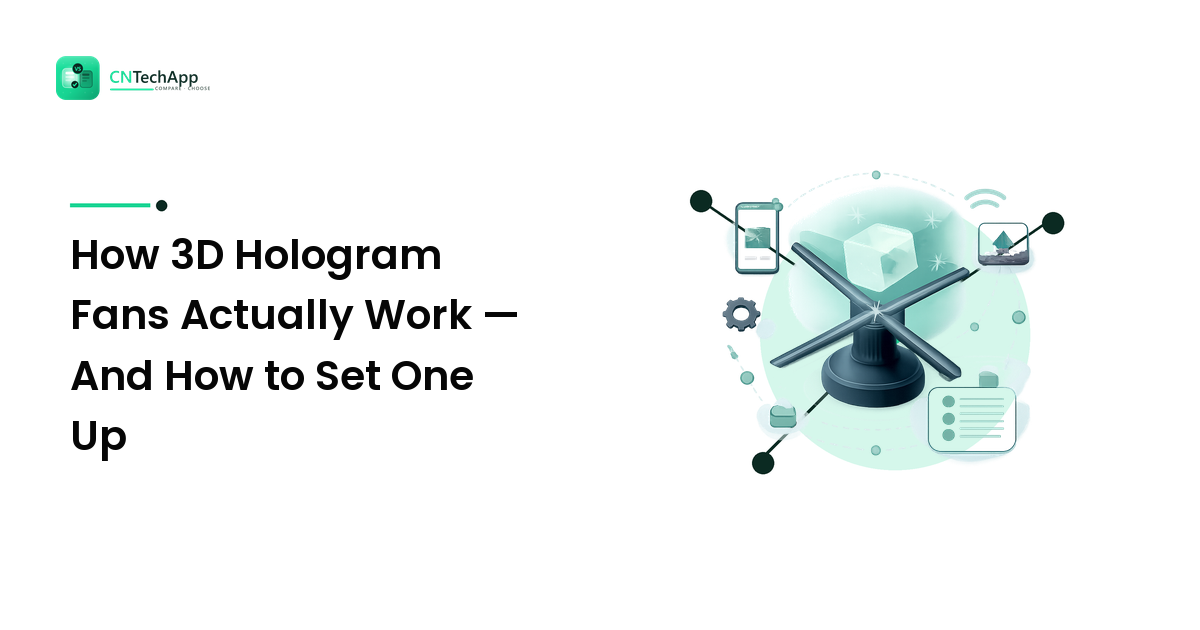
You have seen the videos: a product or logo floating in mid-air with nothing behind it, spinning slowly like a tiny hologram from a sci-fi film. Those are 3D hologram fans, and they are far simpler — and far easier to set up — than they look. This guide explains, in plain terms, how they create that floating effect, then walks you step by step through unboxing, mounting, connecting, and loading your first content.
The short version: a hologram fan is a spinning strip of LED lights that your eye blends into a picture. It is not magic and not a real hologram, and setting one up is closer to hanging a smart photo frame than wiring up a TV. If you can install an app and follow a short checklist, you can run one.
How a hologram fan actually works
It is spinning lights, not a hologram
Inside the fan are one or more blades (arms) lined with tiny LED lights. A motor spins those blades very fast — fast enough that you cannot see the individual arms anymore, just a blur. As they spin, the LEDs switch colors and brightness at exactly the right instant, so each point in the circle lights up in the right way at the right moment.
Your eyes do the rest. Because the lights move faster than your eye can track, your brain blends them into one continuous image. This trick is called persistence of vision — the same reason a fast-waved sparkler looks like a line, not a dot. The fan is really painting a picture with light, one fast pass at a time.
Why it looks like it is floating
There is no screen and no frame around the picture — just spinning arms you cannot see and a dark background behind them. With nothing visible holding the image up, your brain reads it as floating in the air. The effect is strongest when the background behind the fan is dark and plain, which is why hologram content is almost always a bright object on a pure black background.
Why it needs a dark-ish room
Since the picture is made of light against darkness, bright rooms wash it out — the same way a phone screen is hard to read in direct sun. Hologram fans look their best indoors, away from strong daylight and harsh overhead lights. That is a limitation to plan around, not a fault.
Before you buy or set up: a quick checklist
- A dark, plain background behind where the fan will sit — a dark wall or recess is ideal.
- Controlled lighting — dim or indirect, no direct sun on the image.
- A power outlet within reach of the fan's location.
- Wi-Fi if you want to send content wirelessly (most models use an app).
- A safe spot out of arm's reach, or a protective cover if people can get close — the blades spin fast.
If you do not have a unit yet, choose one that comes with a proper app and support so setup is smooth; a specialist such as Innaya is a sensible starting point rather than a bare no-brand fan with no instructions.
How to set up a hologram fan, step by step
Exact button names vary by brand, but the flow is almost always the same.
-
Unbox and check the parts. You should have the fan unit, a mounting bracket or base, a power adapter, and often a small memory card or a USB port. Find the model's app name in the manual — you will need it.
-
Mount it safely first. Fix the bracket to a wall (using the supplied screws and anchors) or set the base on a stable surface. Make sure nothing can touch the blades when they spin, and that the fan sits against a dark, plain background. Why first: it is much easier to mount before the unit is powered and spinning.
-
Plug in the power. Connect the adapter and switch it on. Many fans run a built-in demo clip automatically — that is your confirmation it works. Do not touch the spinning area.
-
Install the companion app. On your phone, open the App Store (iPhone) or Google Play (Android), search for the exact app name from the manual, and install it. Most of these apps are free with the device.
-
Connect the fan to the app. Two common methods:
- Direct Wi-Fi: in your phone's Wi-Fi settings, connect to the network the fan broadcasts (its name is in the manual), then open the app.
-
Home Wi-Fi: open the app, choose "Add device," and follow the prompts to join the fan to your normal Wi-Fi. Pick home Wi-Fi if you want to update content without standing next to the fan.
-
Load your first content. In the app, open the media or playlist section, upload your image or video, and set it to play. Some units also read files copied to the memory card or USB — the manual says which formats are supported.
-
Adjust and position the image. Use the app's size, brightness, and rotation settings so the image fills the circle and sits level. Dim the room a little and check it from where viewers will actually stand.
Making content that looks good
The single biggest factor in how good your fan looks is the content, not the hardware.
- Use a pure black background. Anything that is not black will glow faintly and break the floating illusion. True black reads as invisible.
- Show one clear object. A single product, logo, or shape works far better than busy scenes or lots of text — fine detail and small words do not survive on a spinning fan.
- Keep motion simple. Slow rotation or a gentle transformation reads beautifully; fast, cluttered animation turns to mush.
- Match the file to the fan. Export at the size and format the app recommends so the image is sharp and fills the circle.
Many fans include a few sample clips to start with, which are useful for testing but rarely fit your own brand or purpose.
Quick troubleshooting
| Problem | Likely cause | Fix |
|---|---|---|
| Image looks faint or washed out | Too much ambient light | Dim the room, block direct light, darken the background |
| App will not connect | Wrong Wi-Fi or fan not in pairing mode | Reconnect to the fan's network; restart the fan and retry |
| Content looks blurry or cut off | Wrong file size/format | Re-export to the app's recommended size and format |
| Blades visible / flicker | Loose mount or low frame rate clip | Tighten the mount; use content at the fan's supported rate |
| Nothing plays after upload | File not set as active | Set the clip as the active playlist item in the app |
Work top to bottom — the most common issue by far is simply too much light in the room.
FAQ
Is a hologram fan a real hologram?
No. It is a strip of LED lights on spinning arms, and your eye blends the fast-moving lights into one image. It looks like a floating 3D object because there is no visible screen and the background is dark, but no actual hologram is involved.
Do I need Wi-Fi to use one?
Not always. Many fans also play content from a memory card or USB, so you can load files directly. Wi-Fi is mainly for convenience — it lets you change what plays from your phone without touching the unit.
Why does my hologram fan look dim?
Almost always too much light in the room. The picture is made of light on a dark background, so bright daylight or overhead spots wash it out. Dim the room, keep direct light off the fan, and use a dark, plain background behind it.
Can I put my own logo or video on it?
Yes. Load your file through the companion app (or via the memory card). For the best result, use a single clear object or logo on a pure black background, with simple, slow motion — avoid lots of text or fine detail.
Are hologram fans safe around people?
The blades spin fast, so treat them like a real fan. Mount the unit out of easy reach, or use a protective cover or acrylic enclosure if people — especially children — can get close.
The bottom line
A 3D hologram fan is one of the most eye-catching gadgets you can own, and the technology behind it is refreshingly simple: fast-spinning LED lights plus your eye's persistence of vision, shown against a dark background so the image appears to float. Setup is just as approachable — mount it safely, power it on, install the app, connect, and load a clip on a black background. Nail the lighting and the content and it will look every bit as good as the videos.
If you still need a unit, pick one that ships with a real app and support so the steps above go smoothly — a specialist like Innaya is a good place to start rather than a bare no-name fan with no guidance. Get the room dark, the background plain, and the content simple, and your floating image will do the rest.